
I have been working on 1911's a lot lately, ordered a few checkering files, a beavertail, commander hammer, new sear, new mainspring housing, and went to work on a milspec springfield that I traded Ben for a little while back.
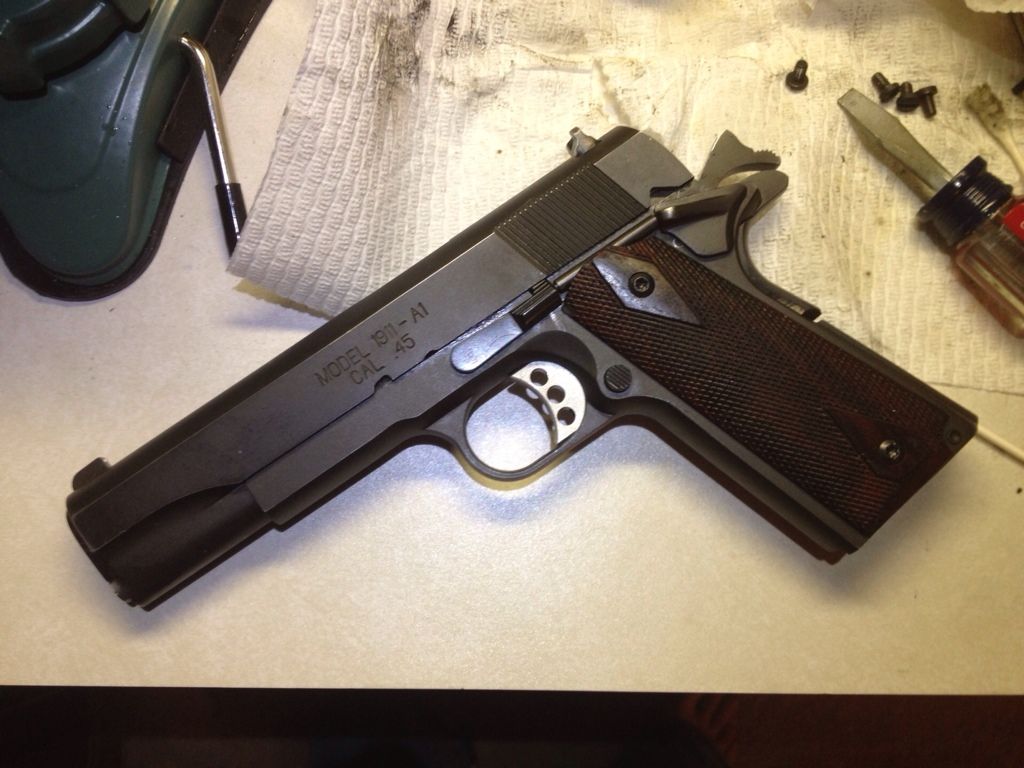
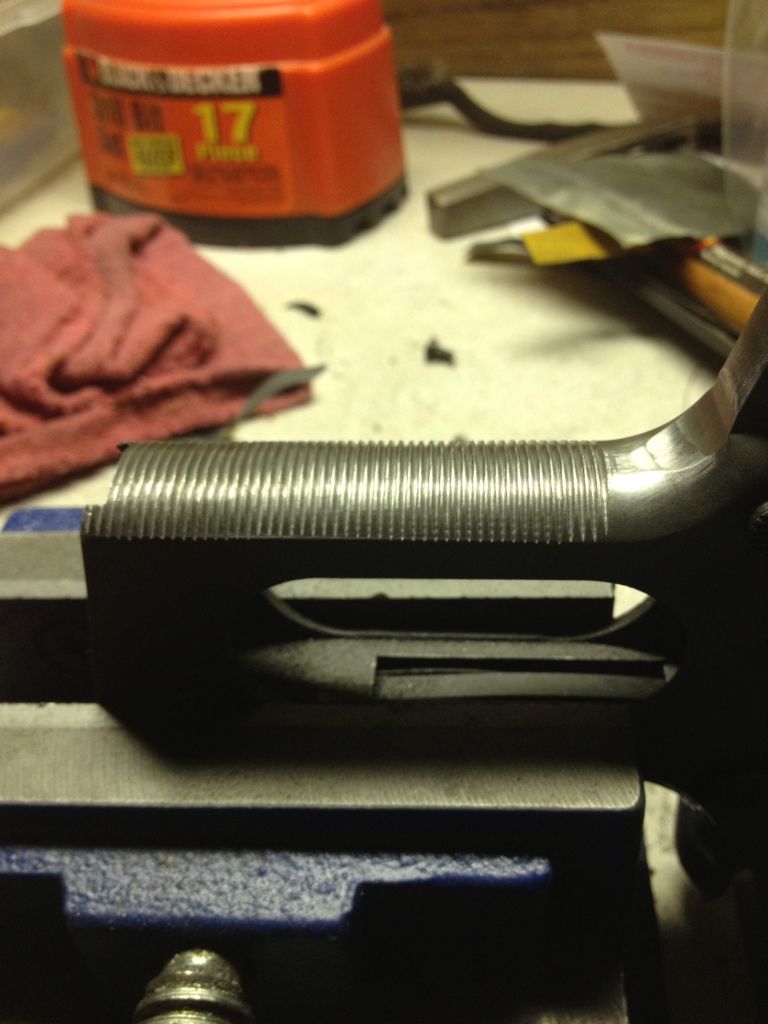
After picture of the beavertail / commander hammer / sear install. I used a wilson combat hammer / sear and I had already installed a new trigger in it for Ben before I traded him. The trigger pull is crisper, and lightened from what it was, very clean break. Installing the beavertail required cutting a good bit of the frame and then blending it all in with the beavertail. I also installed the ambidextrous safety that I took off of my EMP while I was at it, it had to be fitted to the new sear when I installed it.
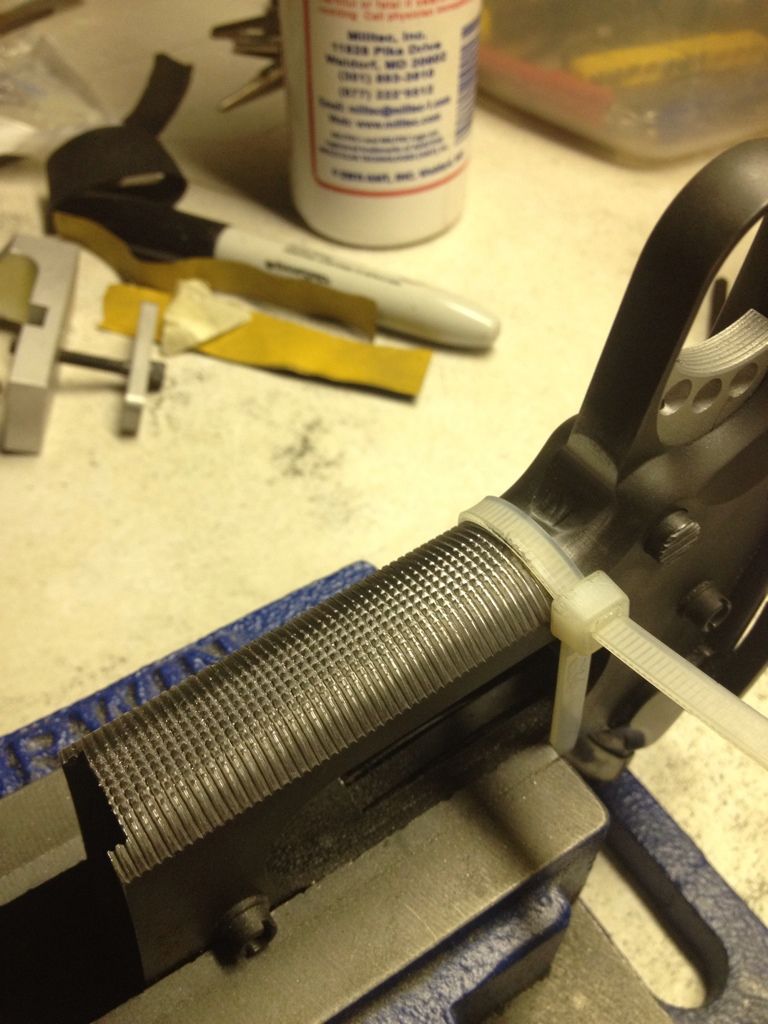
When I began the checkering, I started backwards from what most people do, and cut the horizontal lines. Those were the most time consuming at 3-4 hours. I liked the way that the serrations felt a lot, I almost chickened out and left it that way but decided to keep going with the vertical lines.
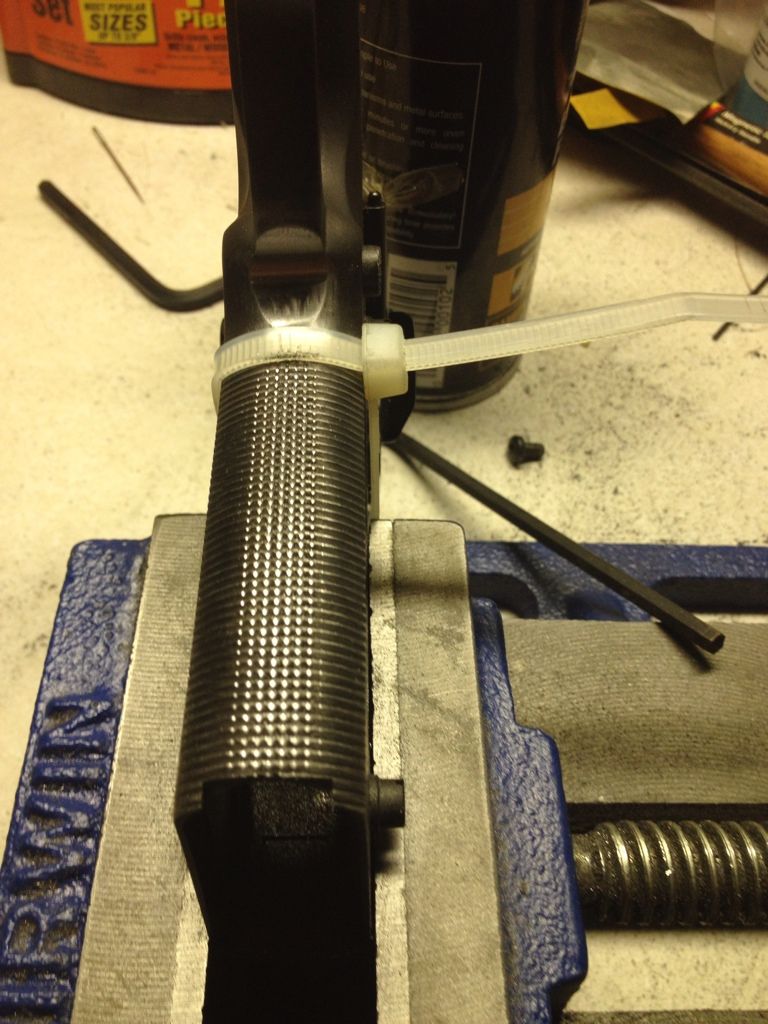
Starting on the vertical lines.
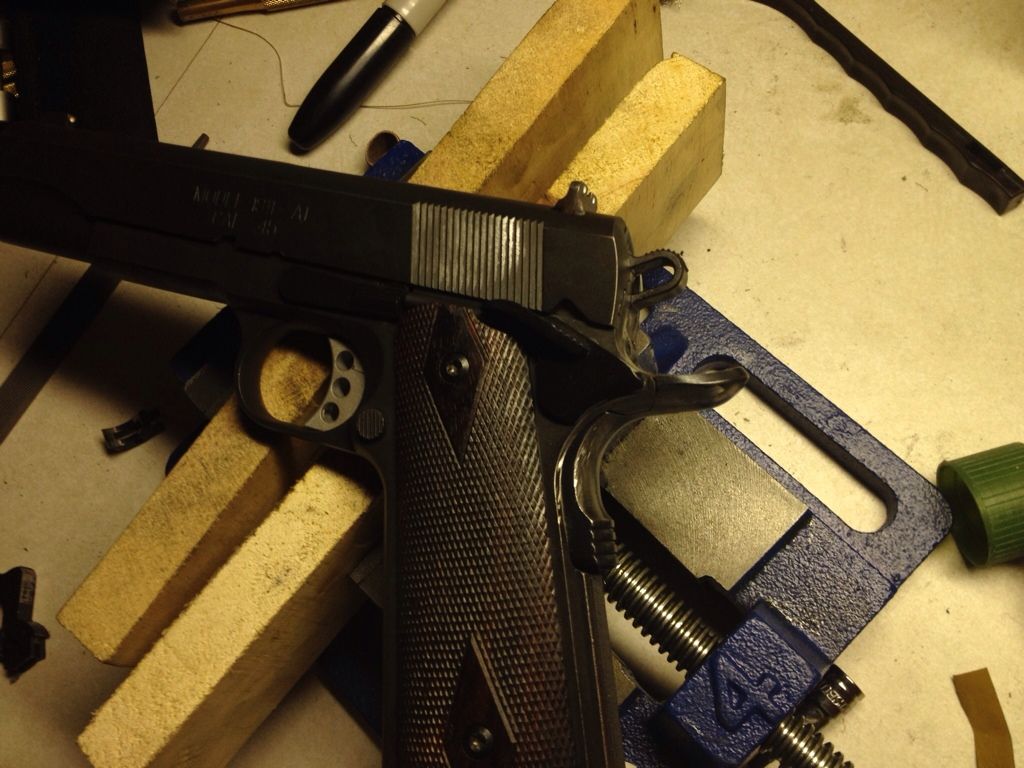
I also undercut the trigger guard while I was working on it, i still need to smooth it out some and get rid of some of the grinding marks.
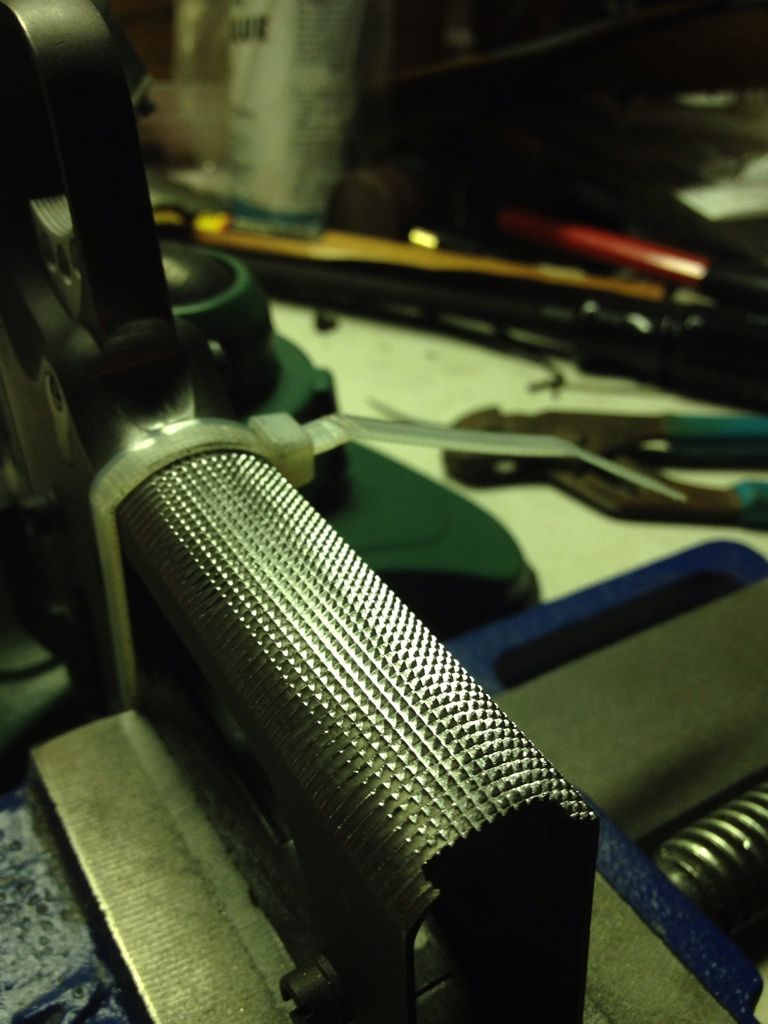
~finished, I am probably going to go over everything again and refinish again to get it as close to perfect as I can. I used a cold blue on the checkering and it doesn't match the parkerization, so I will do a complete re-finish on it at some point soon.
Need to take it all down, and get it all cleaned up and decide what I am going to do finish wise. Pretty happy with how it all turned out :-D
I definitely need to take a reassembled after picture too.
With all of the time that I put into that and as nice as the checkering turned out, I wish I would have done it on one of my nicer guns, although I'd be kicking myself if I had messed up.
After picture of the beavertail / commander hammer / sear install. I used a wilson combat hammer / sear and I had already installed a new trigger in it for Ben before I traded him. The trigger pull is crisper, and lightened from what it was, very clean break. Installing the beavertail required cutting a good bit of the frame and then blending it all in with the beavertail. I also installed the ambidextrous safety that I took off of my EMP while I was at it, it had to be fitted to the new sear when I installed it.
When I began the checkering, I started backwards from what most people do, and cut the horizontal lines. Those were the most time consuming at 3-4 hours. I liked the way that the serrations felt a lot, I almost chickened out and left it that way but decided to keep going with the vertical lines.
Starting on the vertical lines.
I also undercut the trigger guard while I was working on it, i still need to smooth it out some and get rid of some of the grinding marks.
~finished, I am probably going to go over everything again and refinish again to get it as close to perfect as I can. I used a cold blue on the checkering and it doesn't match the parkerization, so I will do a complete re-finish on it at some point soon.
Need to take it all down, and get it all cleaned up and decide what I am going to do finish wise. Pretty happy with how it all turned out :-D
I definitely need to take a reassembled after picture too.
With all of the time that I put into that and as nice as the checkering turned out, I wish I would have done it on one of my nicer guns, although I'd be kicking myself if I had messed up.