
I wrote this for a Wiki and figured it might get some use here.
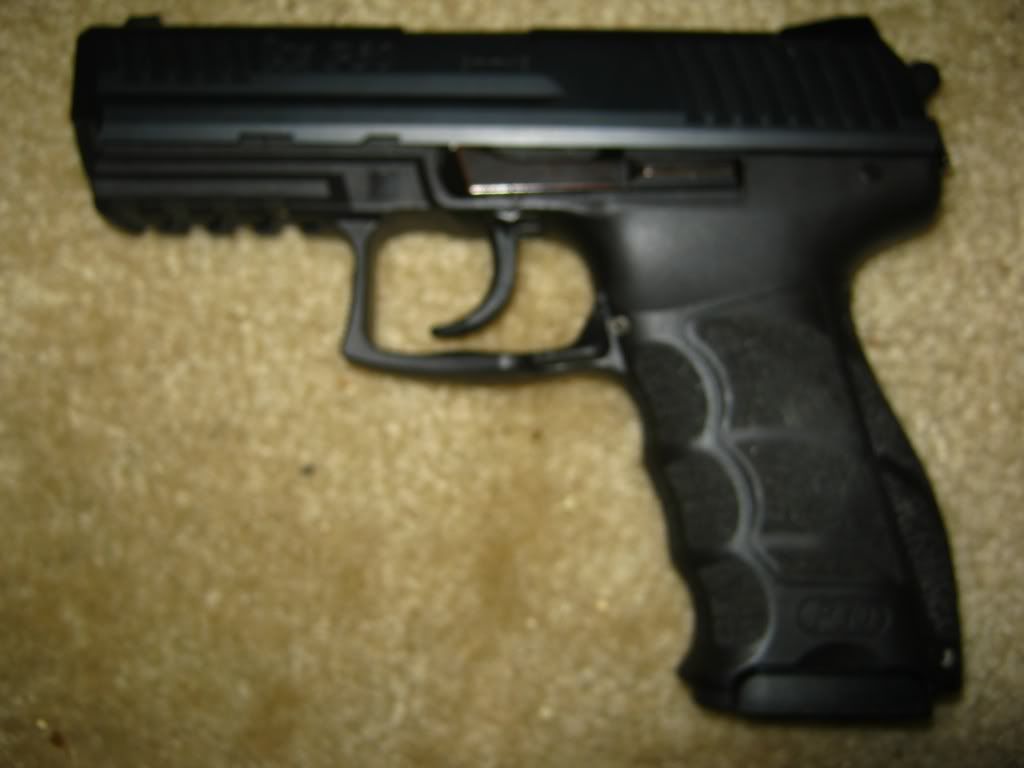
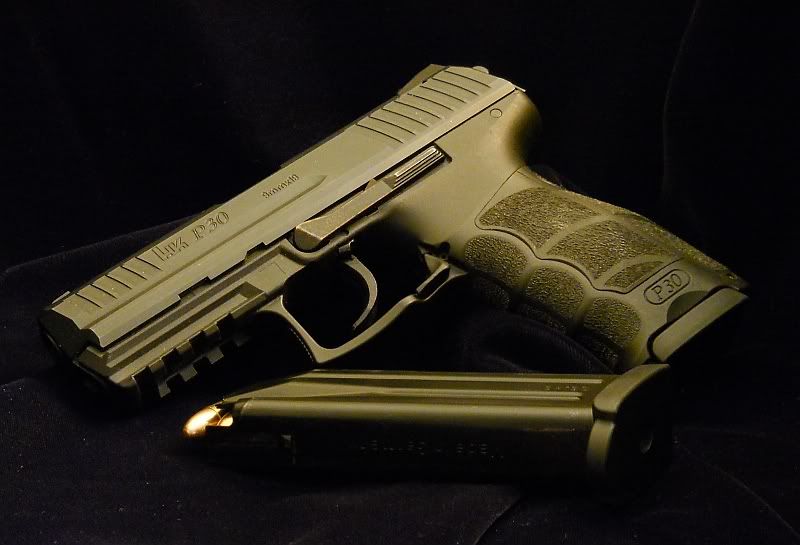
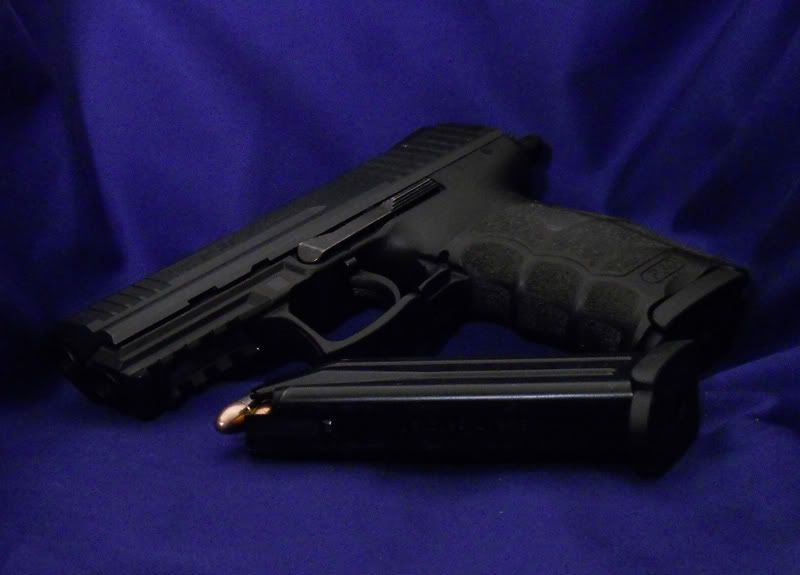
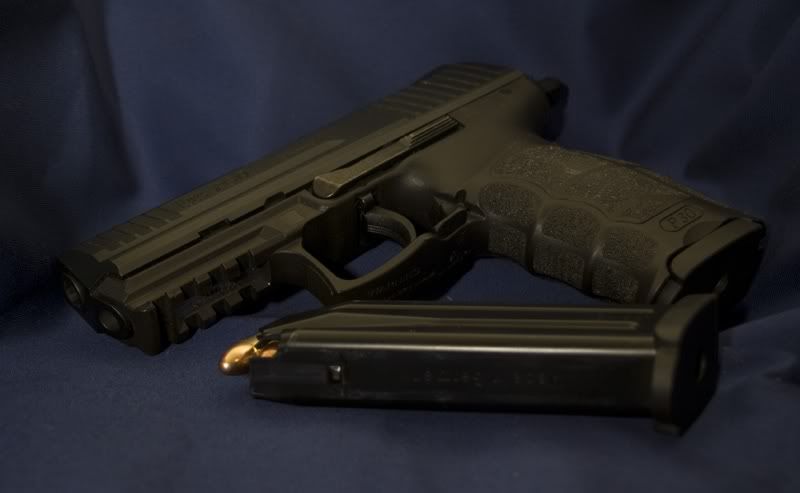
Ok first things first, figure out what firearm you are going to be using, a new one if nice because there is less wear on the finish. Got one picked out, great now go take a picture of it. Go do it now, don't read the rest of this until you have we will wait for you................................................................................ Photography is a lot like shooting, it's not about perfection, it is about improvement. You just created your baseline.
Now, lets get some house cleaning done. Lets start with the first and most common question ever asked about photography. Is my camera good enough? Well let me ask you two questions, 1) Was your in 2005 or later? 2) Does it say any of the following on it “Nikon, Canon, Sony, Olympus, Kodak, Agfa, Lenica, or Pentax? If you said yes to both of those questions, you are golden. If you only said yes to one then you are probably ok, post up what you have if you are concerned. If you said no to both, it might be time to upgrade, (40 bucks at walmart will put you firmly in the golden category) however it might be worth it to post up what you have just to make sure before you go spend any money. I promise you will get my honest opinion.
Some other quick notes
1) I am writing this for Point and Shoot type cameras, I will be providing examples from my canon A490, which I got at Wal mart for 60 bucks. You might see some technical photos (shots of the set up), from my DSLR, but that is it.
2) The camera on your phone sucks. I don't care if it is the latest and greatest Iphone, for this purpose they suck. Actually the only thing camera phones are good for is proving to the world that your friend is a complete fool when s/he is drunk. You need to get an actual camera (Again 60 bucks at wal-mart will do). You can try the techniques detailed here, but your results will probably not work.
3) DSLR people, this tutorial may or may not prove useful to you, it depends on how far along your are in your photography. If you post up a question about something, be sure to say that you are using a DSLR because the answer will likely be different than that for a point and shoot.
4) I am not a professional photographer. I am a guy with a camera, just like you. My professional experience as it relates to photography was fixing photo processing equipment (and after looking at millions of terrible photos, you learn what not to do), I also worked as tech support for a short time for a major camera maker.
5) I am going to attempt to avoid the really technical (read: photo nerd) speak. If you don't understand something please, I beg of you, speak up and either I or one of the other photo guys will explain it.
6) This will be a long process, I will be throwing a lot of info at you pretty quick, you will in all likelihood (if you follow the tutorial) be doing odd things. There is no magic bullet for taking better photos, it is all about knowledge and commitment. The knowledge processes and techniques that are involved here, translate over to regular photography very well.
Lets go over some of the basics of photography. First off it really boils down to light, it's reflection and it's detection. Inside your digital camera is a sensor (think of it as a digital version of a piece of film) that detects light that is coming in through the lens and records it in an image. The art/voodoo in photography is merely learning to control that light. Everything else is only attention to detail. Now there are 3 ways to manipulate the light that is going to hit. First is the light coming off the scene that we are taking a picture of, now the first instinct is to say “Well there is no real way we can control that, or is there?”
The second is to control the period of time the light hits the sensor, the longer the light hits the sensor the large amount of light it will see overall and the more light it sees the bright it will make the image. In the old days of film there was a piece of plastic or metal sitting in front of the film called the shutter. If the shutter was moved up then the film would be exposed to light, when it was down it would not be exposed to the image, how long it was out of the way and allowed light to be on the film was called the shutter speed. Modern digital cameras work the same way, except with digital film, and the sensor is simply turned off or told not to record what it sees. This is what we call shutter speed and is measured in seconds, so you might hear something like a 1/200th of a second shutter speed. This means that the shutter will be out of the way and allowing light onto the film or sensor for 1/200th of a second.
The third is to control the amount of light allowed through the lens, not the period of time but the amount of light. There is this bladed circular thing inside the lens called the aperture. It if it is wide open then all the light going into the lens, however it can close down in steps restricting the amount of light that moves through the lens into the sensor. Think of it like the colored part of a human eye, when you look into someones eyes in a dark room the colored part of their eye will be small while the pupil (the black center) of the eye will be wide open allowing all the light it can into the eye. When outside on a bright day the pupil is really small letting in only a little light (this is how your eyes adjust from being somewhere dark to somewhere bright). The aperture of a camera works the same way, closing down to restrict the light and opening up to allow more in. The way this is measured is in F-stops, I am not going to go into how each F-number is reached, but know that the larger the F number (say f/22) for instance the smaller the aperture (and thus a smaller amount of light will be let in). So f/1.6 is wide open, and f/22 is a tiny little pin hole.
Got all of that, well....kinda sorta. That's OK, because now we are going to talk about cameras. In particular point and shoots. Now your typical point and shoot camera was made to do one thing, take passable pictures of kids running around, and make it push button easy. They have succeeded too, they are easy to use, and the photos of kids running around turn out OK. However we aren't taking photos of kids running around, we want really good pics of our firearms so we can share them with others. That is where the problem begins. In making these camera's easy to use they locked them down, made it so that you cannot manually change settings. Remember shutter speed and aperture size? Well guess what, on most point and shoots you can't just push a button and change them, everything is automatic. So ladies and gentlemen we, are going to have to out wit the camera. Don't fret about having no idea how to do it, or where to even start. We are going to go through it step by step. Below is a picture of a typical point and shoot camera, and consequently the one I will be using during this tutorial.
Post limit reached, continued in next post.